Localization
Preparation
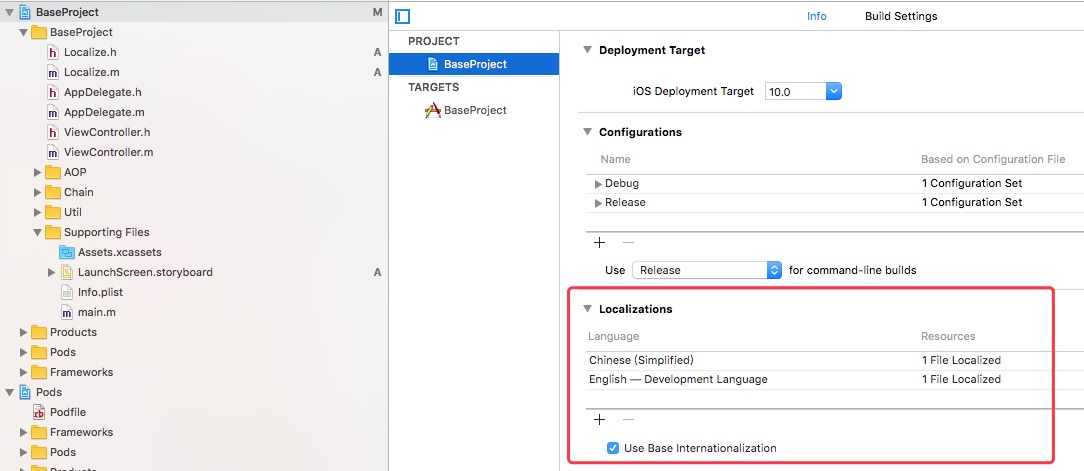
Add languages under Project->Info->Localizations.
Localize App name
0、Create InfoPlist.

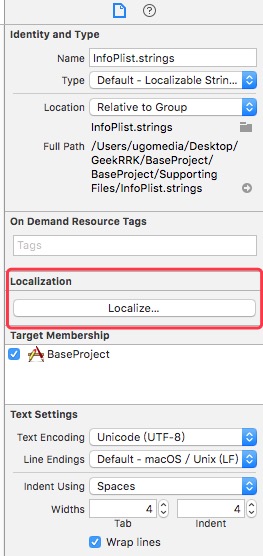
1、Select InfoPlist and click Localize… on the File inspector.
2、Select the language we want on the alert view to localize InfoPlist.

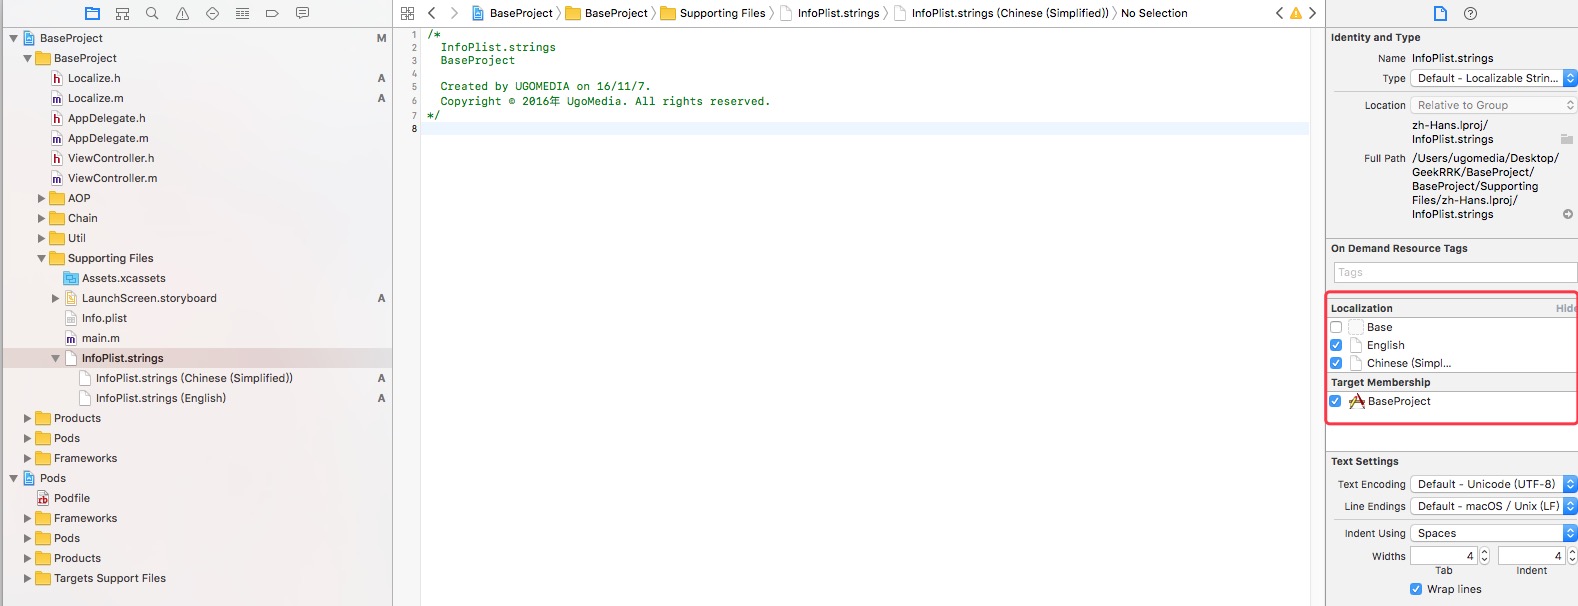
3、Check all languages we want on the File inspector.
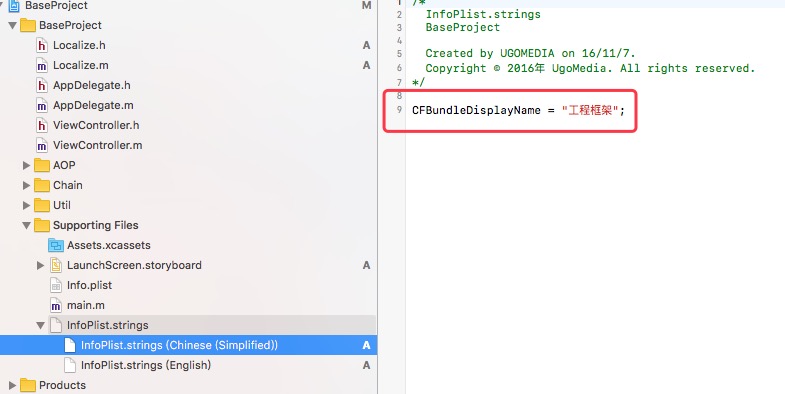
4、Add localized App name to each InfoPlist.strings.
Localize strings in code
0、Steps are same as Localizing App name except the file name is Localizable.strings.
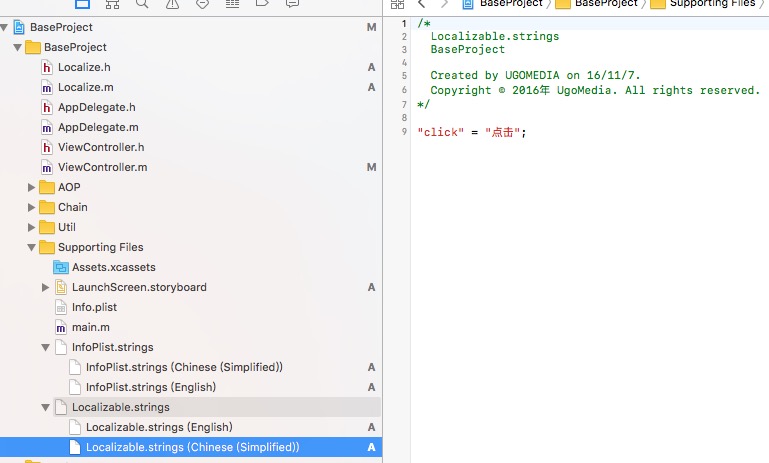
1、Use NSLocalizedString to assign strings.
NSString *title = NSLocalizedString(@"click", nil);
Tip: Edit->Scheme->Run->Arguments Passed On Launch ->-AppleLanguages (zh-Hans) to change the run language environment. (Won’t work for InfoPlist.strings)
When code in team
NSString *title = NSLocalizedStringFromTable(@"click", @"myLocalizable", nil);
Localize image
Way 1:
Localize image name like previous steps.
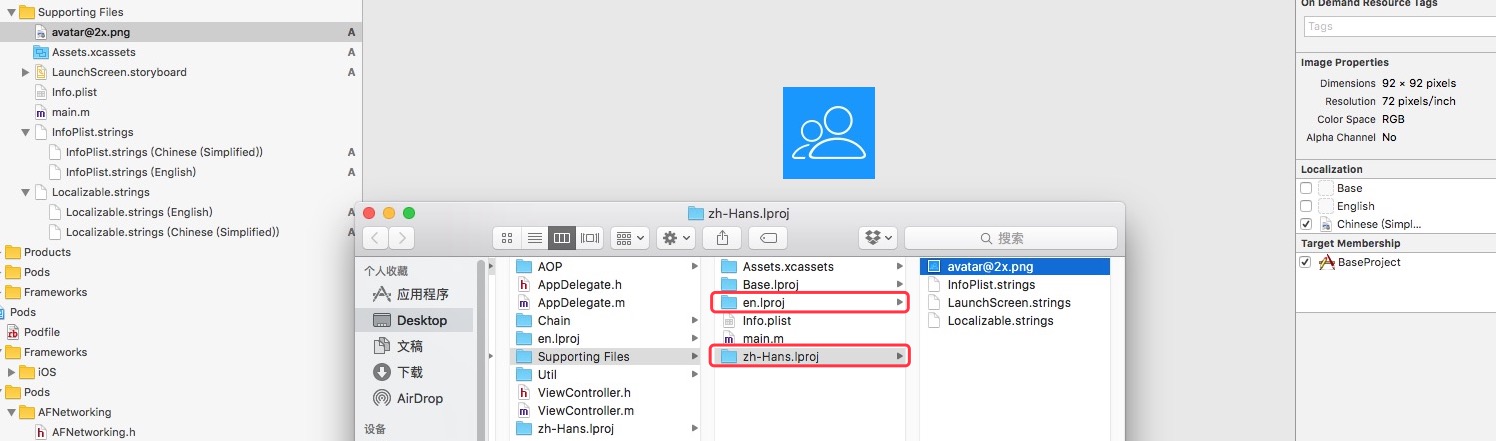
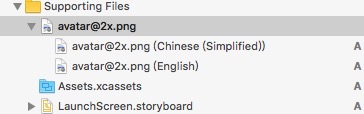
Way 2:
0、Localize the image on the File inspector.
1、Show the image in Finder and put another image with the same name to another .lproj directory then drag the image to project under the previous image.
View/Switch localized languages
Remember call the method in application:didFinishLaunchingWithOptions:
- (void)switchLocalizedLanguage {
    NSArray *langArr1 = [[NSUserDefaults standardUserDefaults] valueForKey:@"AppleLanguages"];
    NSString *language1 = langArr1.firstObject;
    NSLog(@"Before switch:%@", language1);

    NSArray *lans = @[@"zh-Hans"];
    [[NSUserDefaults standardUserDefaults] setObject:lans forKey:@"AppleLanguages"];

    NSArray *langArr2 = [[NSUserDefaults standardUserDefaults] valueForKey:@"AppleLanguages"];
    NSString *language2 = langArr2.firstObject;
    NSLog(@"After switch:%@", language2);
}
Refer to: http://www.jianshu.com/p/88c1b65e3ddb
comments powered by Disqus